 Aperture: f/8, Shutter Speed: 1/350, ISO: 200  Aperture: f/8, Shutter Speed: 1/350, ISO: 200  Aperture: f/8, Shutter Speed: 1/180, ISO: 200  Aperture: f/8, Shutter Speed 1/250, ISO: 200 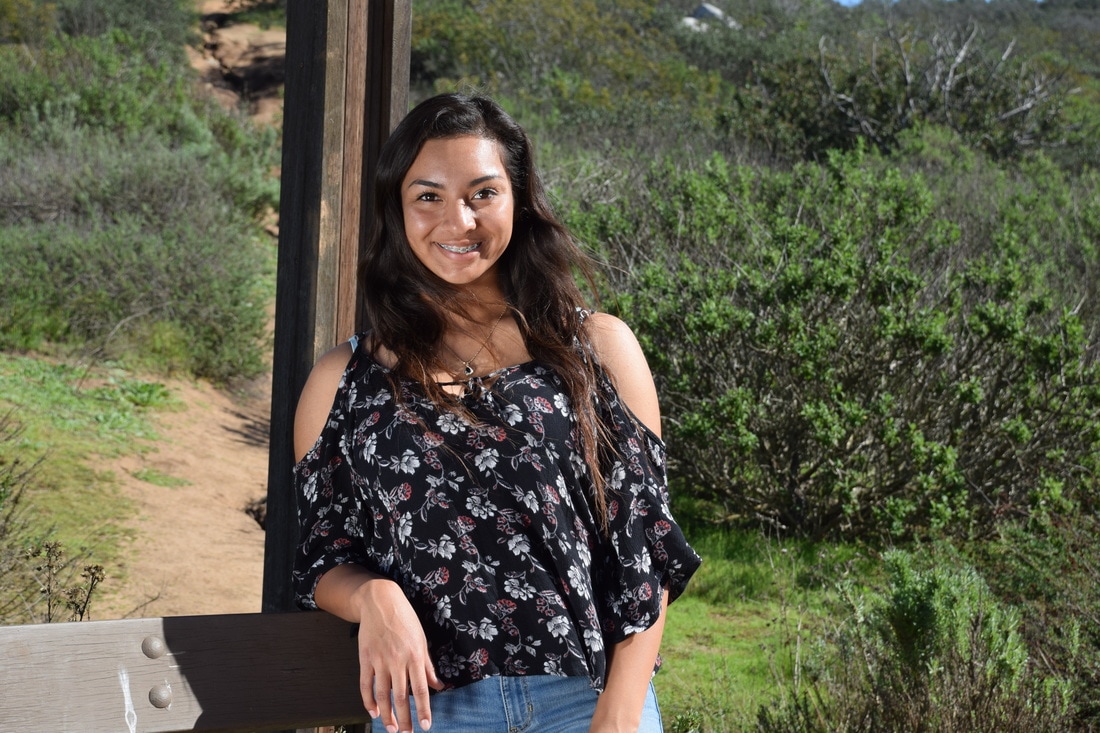 Aperture: f/8, Shutter Speed: 1/350, ISO: 200 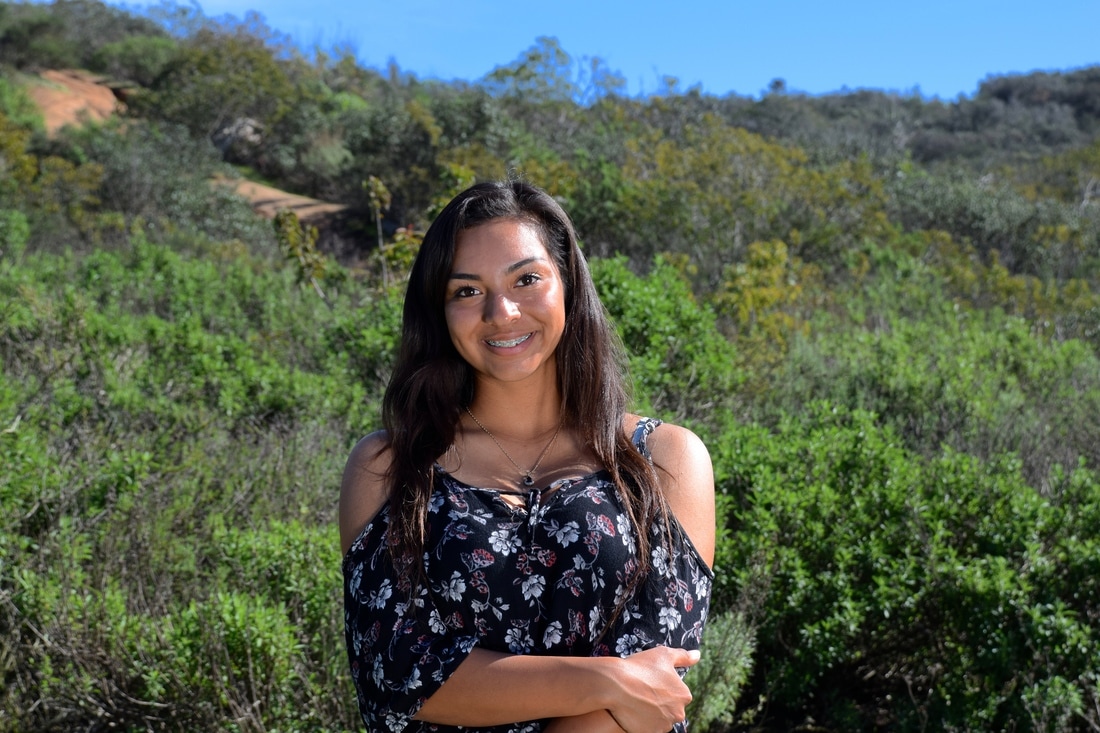 Aperture: f/8, Shutter Speed: 1/250, ISO: 200
0 Comments
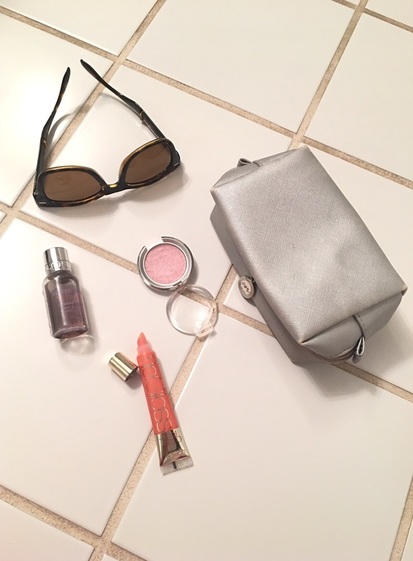
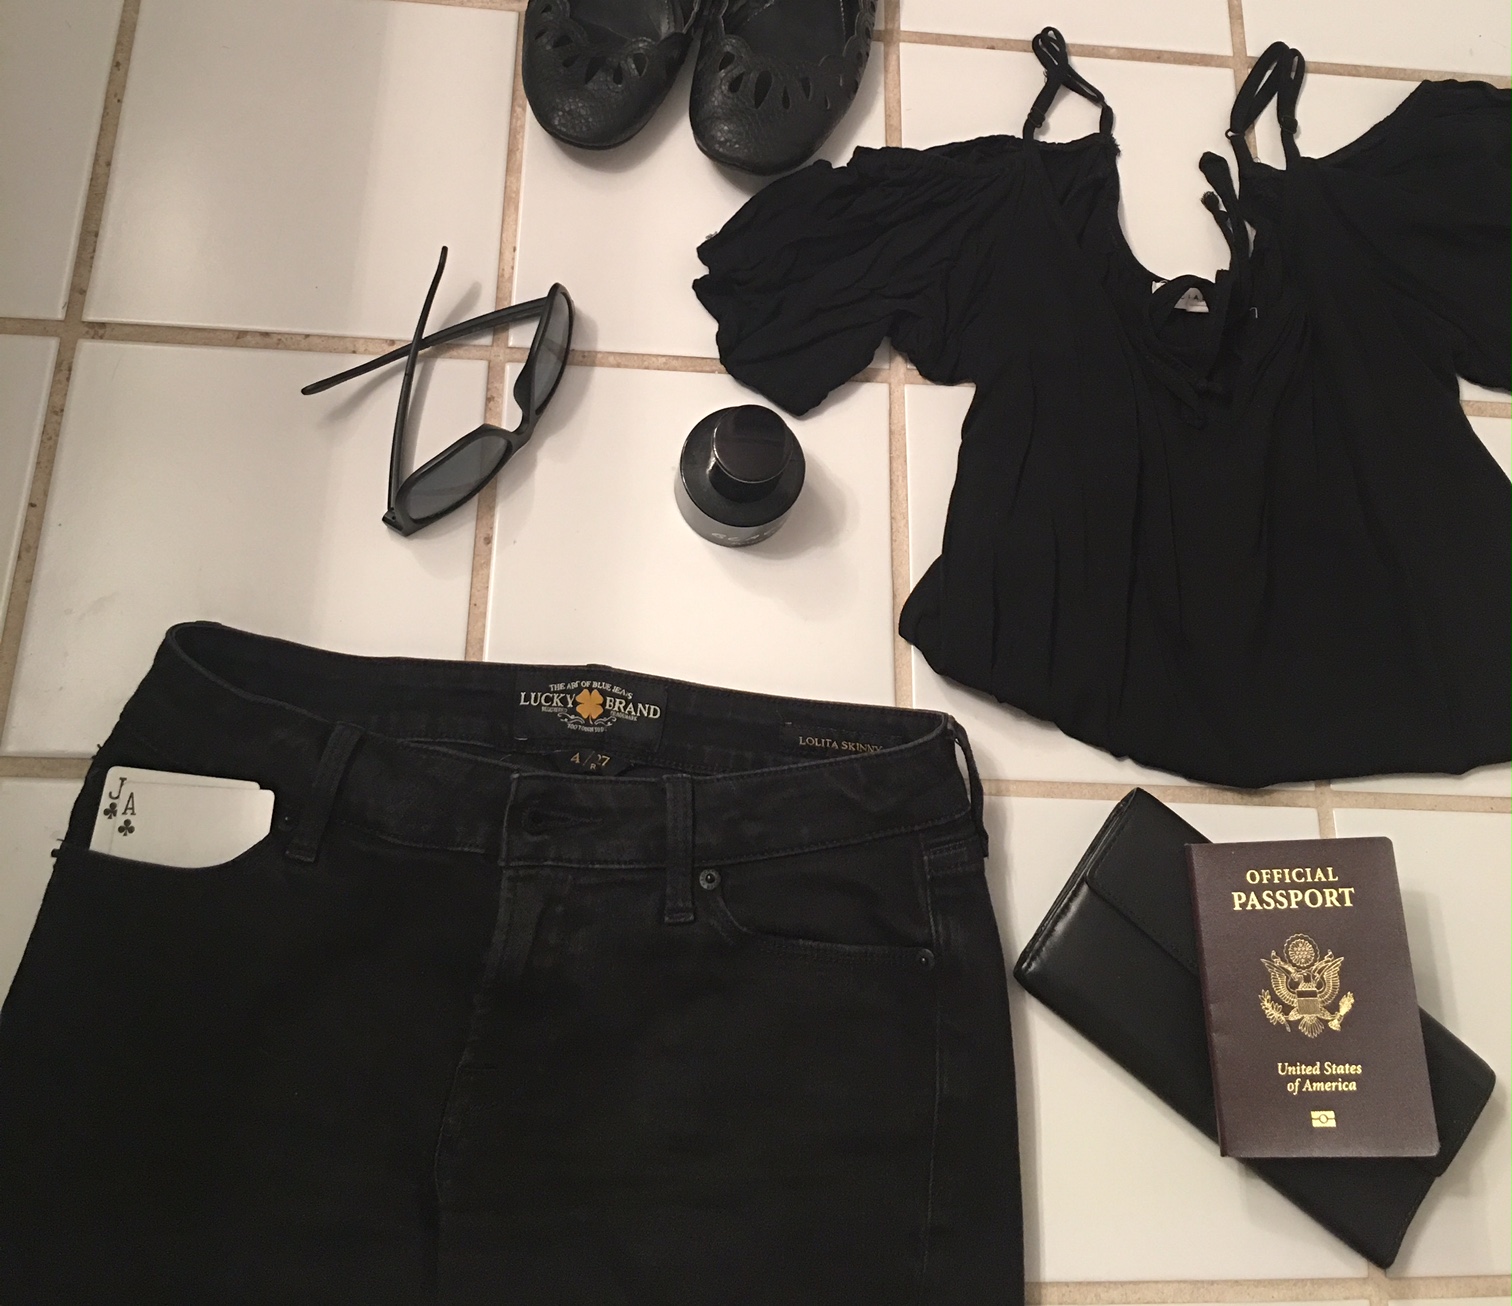
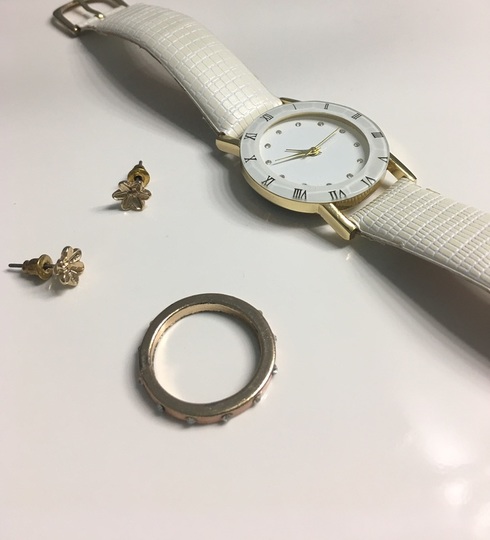
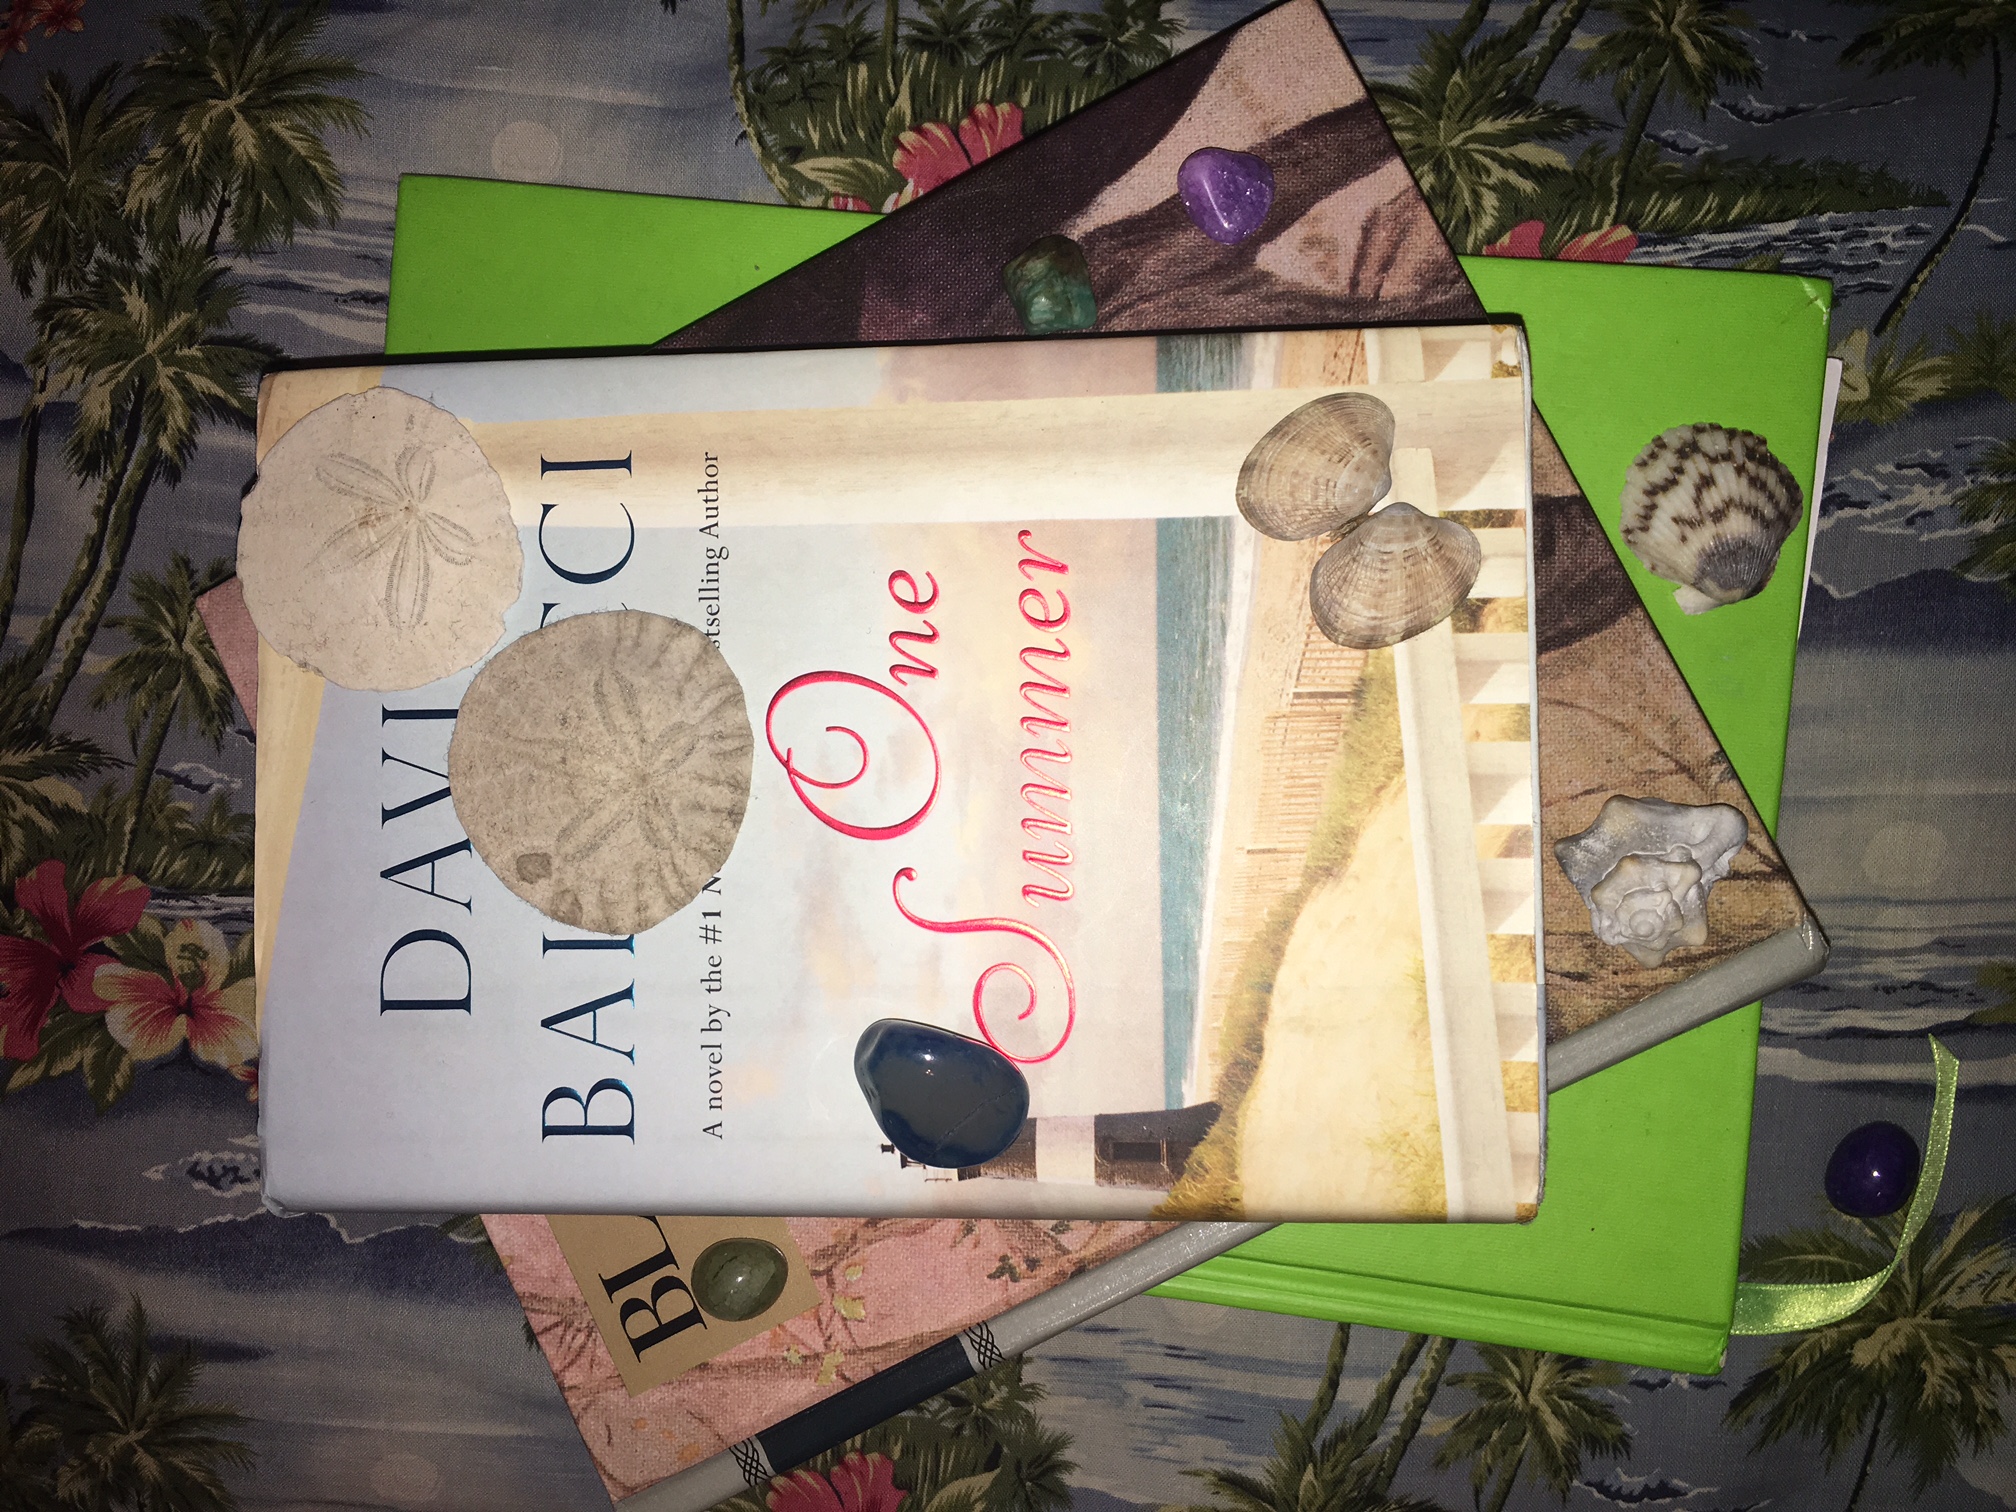
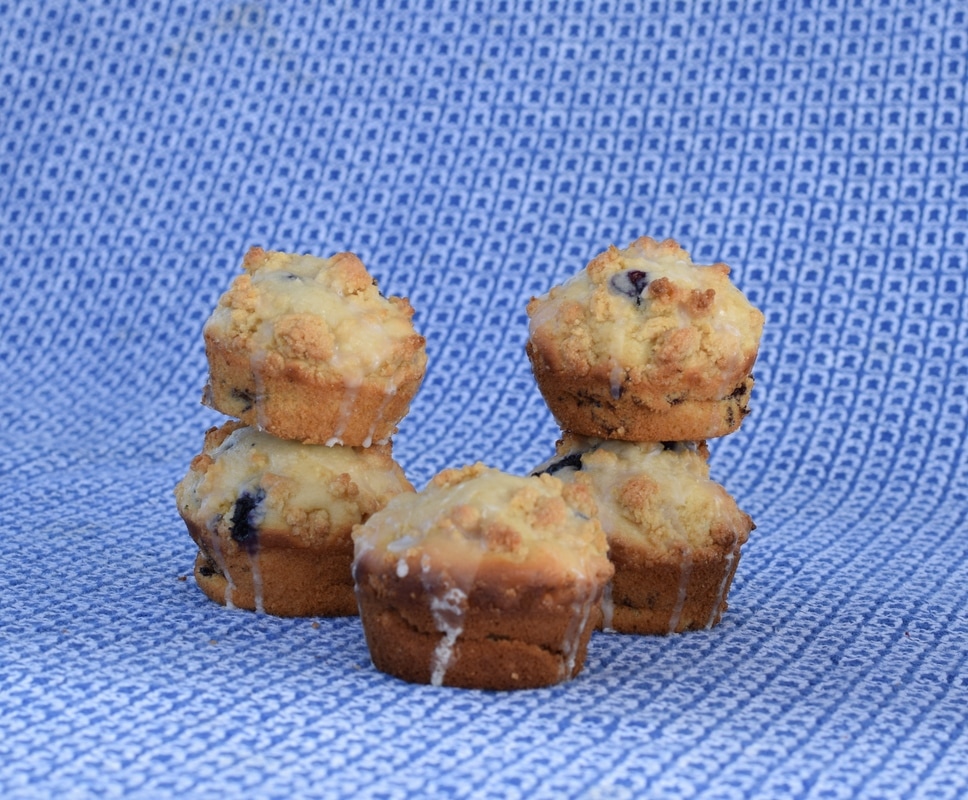 Stacked, Aperture: f/8, ISO: 200, Shutter Speed: 1/180 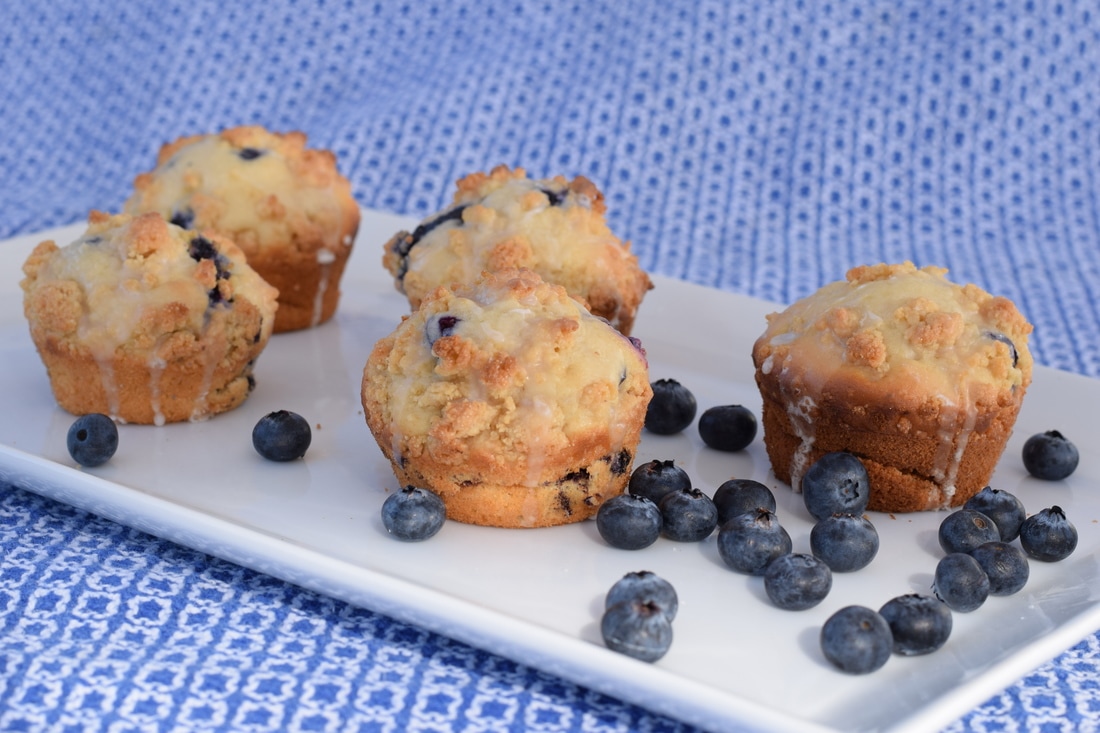 Aperture: f/8, ISO: 200, Shutter Speed: 1/180 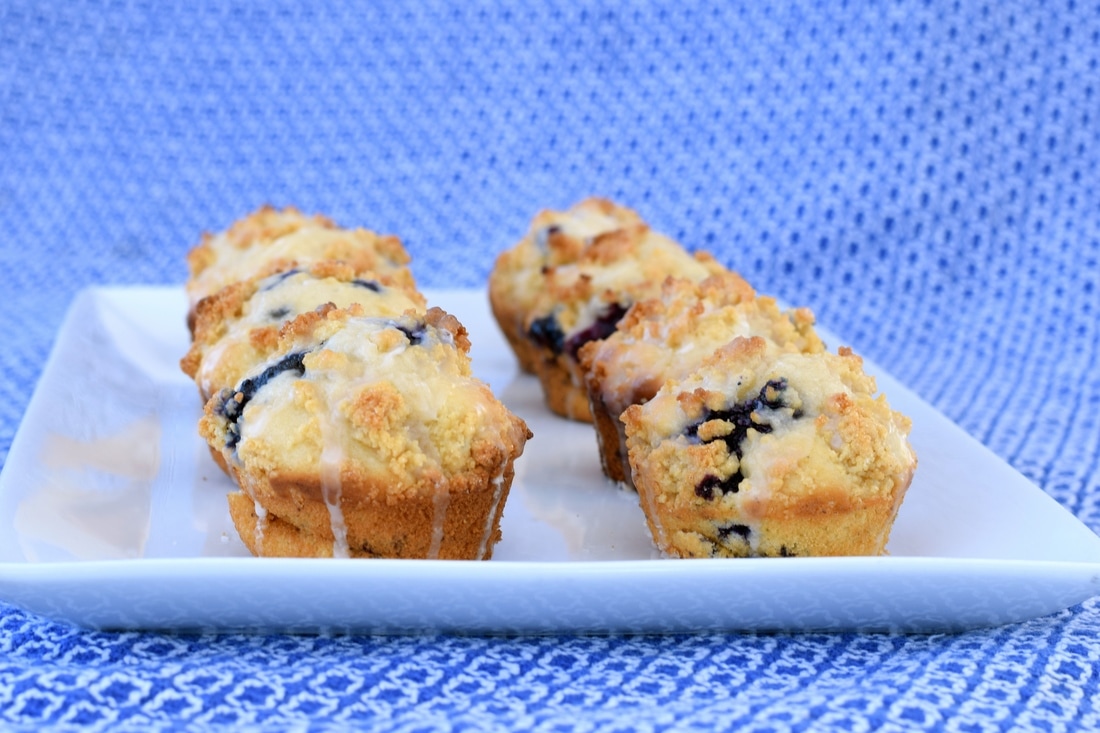 Aligned, Aperture: f/8, ISO: 200, Shutter Speed: 1/125 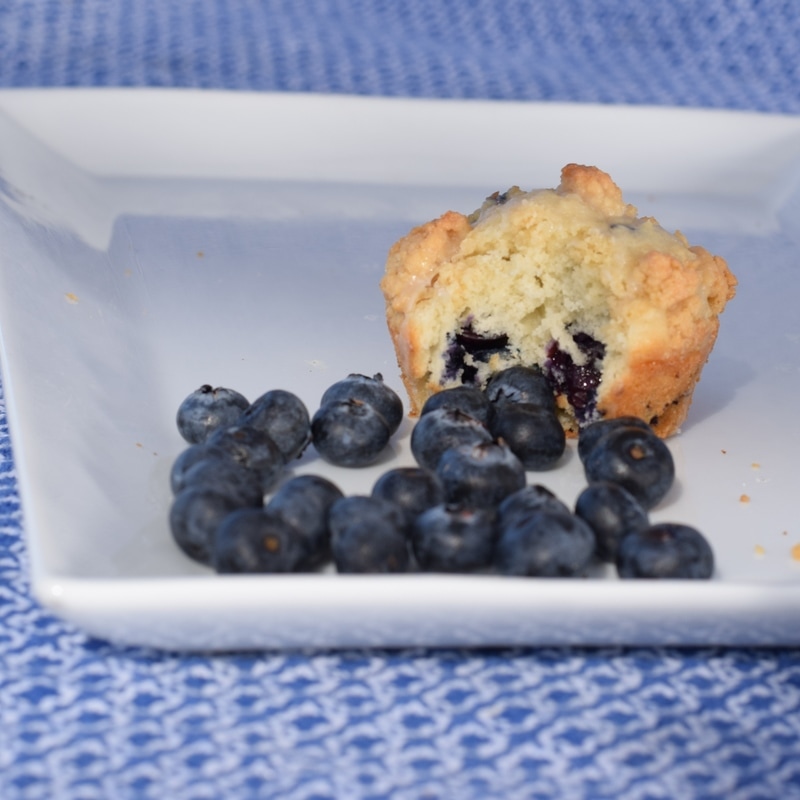 Spilled, Aperture: f/8, ISO: 200, Shutter Speed: 1/250 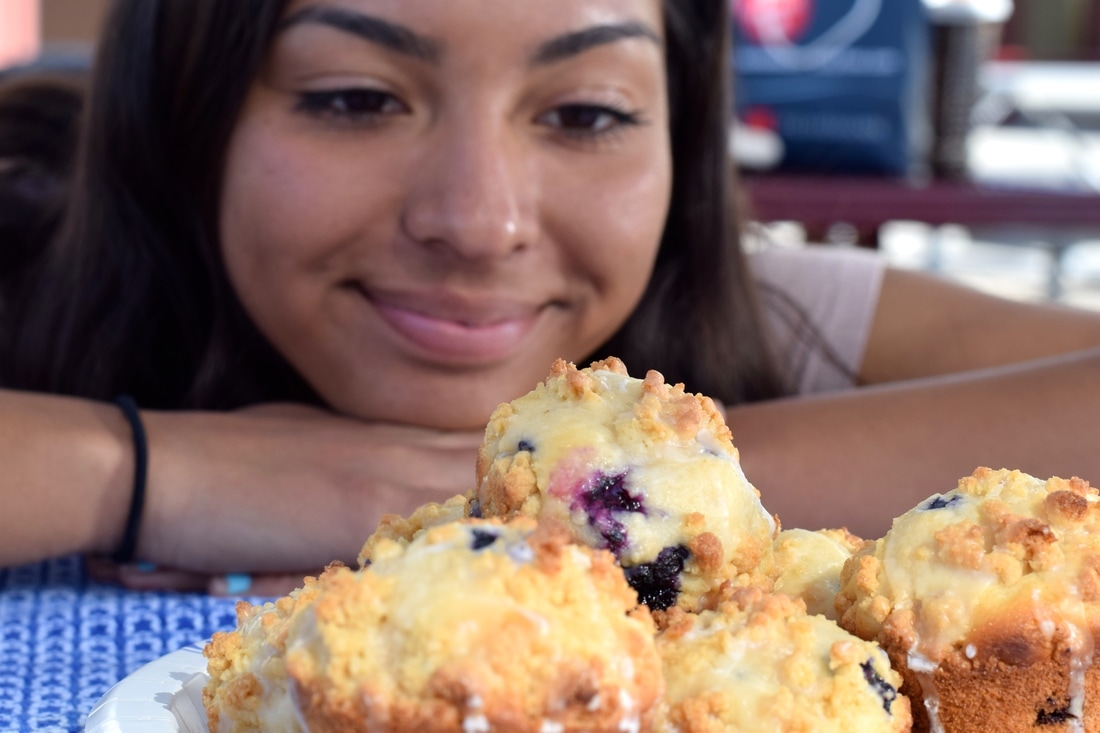 Love at First Sight, Aperture: f/8, ISO: 200, Shutter Speed: 1/250
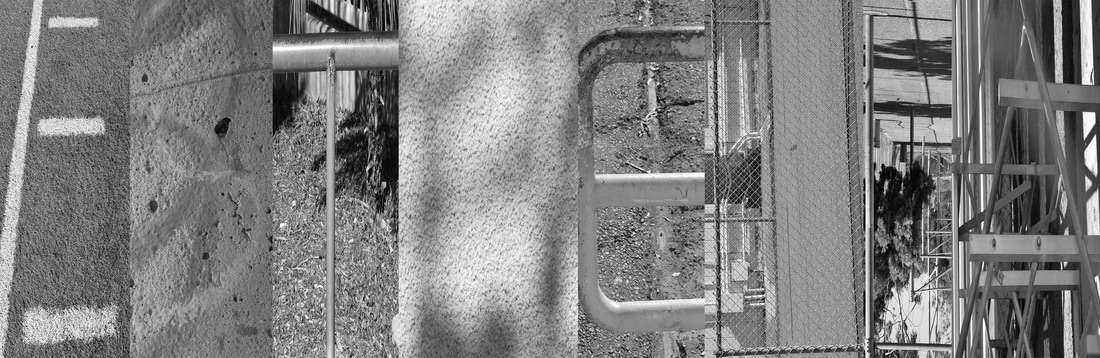 Steps to creating your name:
Trying to find an 'R' was something very difficult to do. Luckily I was able to find a shadow that looked just like one. In photoshop it wasn't too easy making each photo look good in its place. Finding E's, T's and L's was very easy to do. Overall I like how it turned out. Everything seems somewhat easy to figure out. To make this better I could've made some images more visible.
Career This is what I will be doing in 10 years. I've always had a passion for animals so what better job is there than a veterinarian. I enjoy helping animals and being around them. I'm planning on going to college right after high school and becoming a veterinarian. This is something I know I'll be happy doing for a long time. Celebrity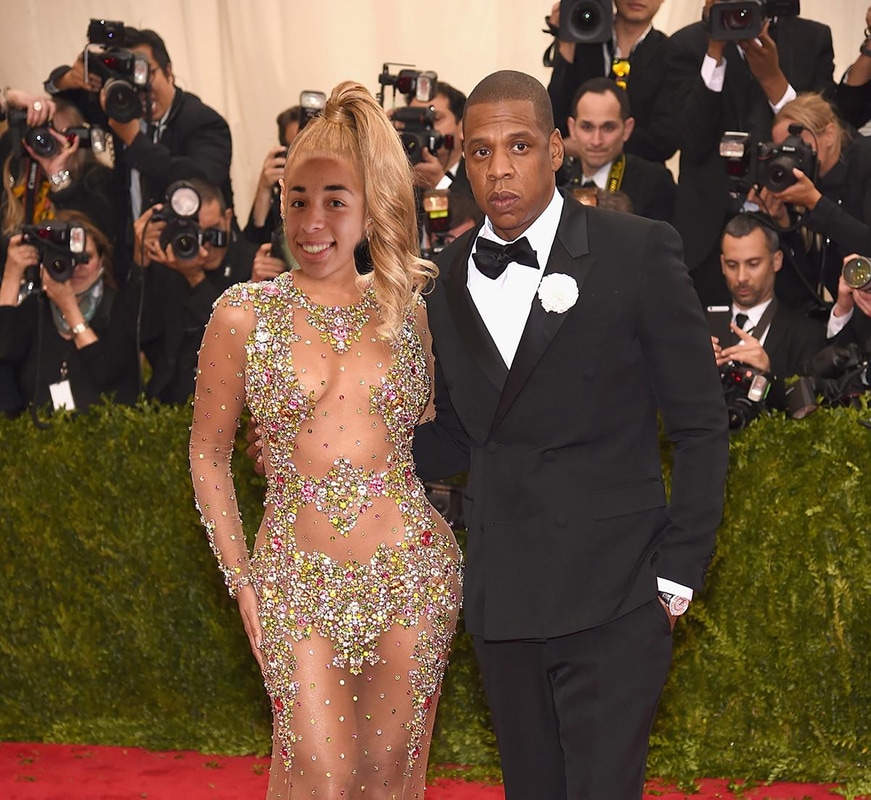 This is me as Beyonce with Jay Z. We're getting our picture taken at the Red Carpet. Steps to achieving a photoshopped image:
Before: 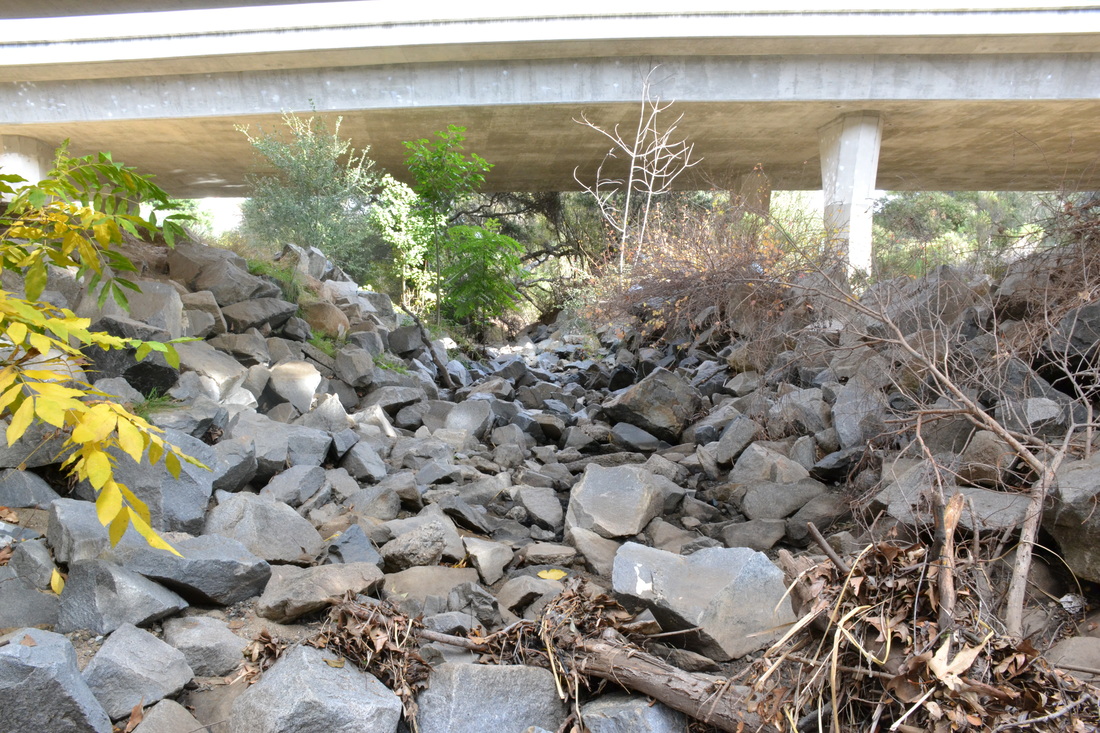 ISO: 1600, Aperture: f/16, Shutter Speed: 1/50, 0 EV After 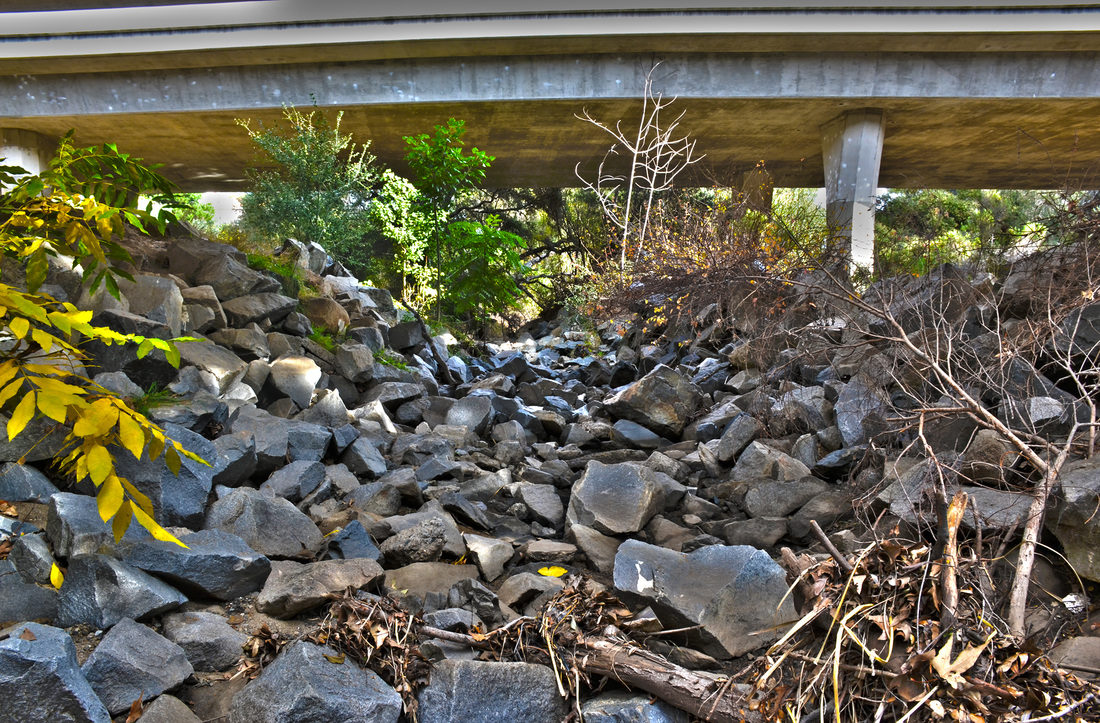 Before:  ISO: 400, Aperture: f/16, Shutter Speed: 1/250, 0EV After: 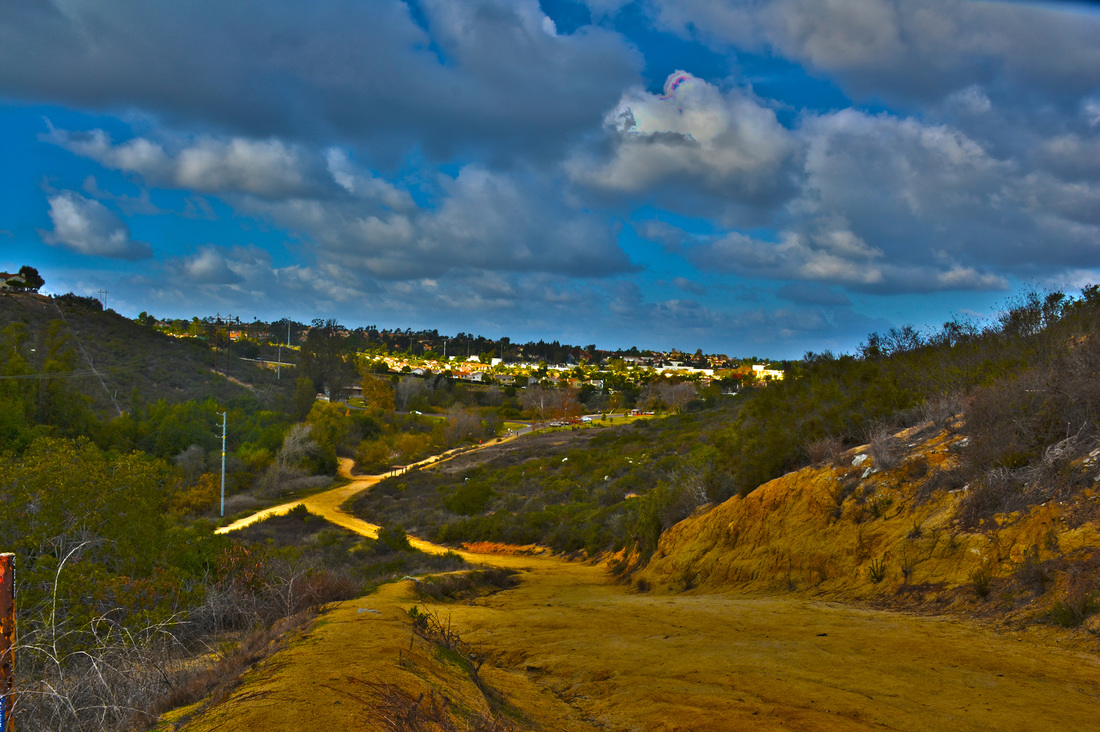 Before:  ISO: 1600, Aperture: f/16, Shutter Speed: 1/125, 0 EV After:  In order to take HDR pictures you need to press and hold the ie button and change it to -.5, -.1, .0, .1, and .5. You should have a total of five photos. Go into photoshop and layer the five pictures on top of each other. Once that is done click on preset and scroll to more saturated . After that make it how you desire click okay and go to file and save as.
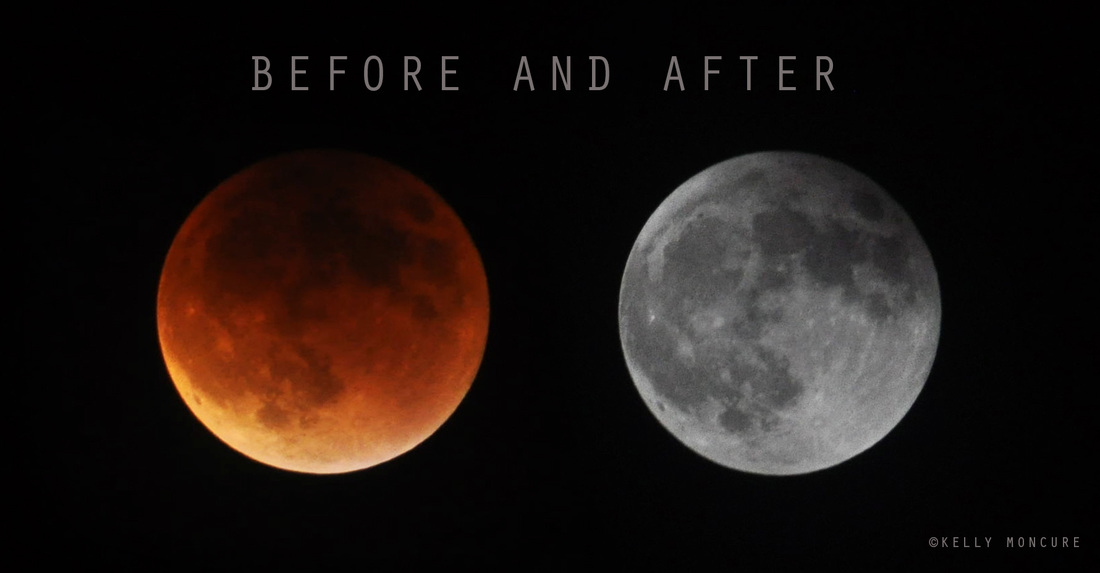 To photograph the moon:
1. Use a tripod! A flat surface will only allow you to shoot straight, and shooting the moon means that you'll be shooting up and constantly re-adjusting the tripod as the moon moves throughout the night. 2. Use a shutter release cord, remote or the camera's self timer if you don't have one, so that you don't move the camera when pressing the shutter release during a long exposure. 3. Use a zoom lens and zoom in as much as you can to the moon. It's okay if it's not a super fancy lens, this was shot using a 15 year old $100 lens. Focus in on the craters and details on the moon. 4. ISO 1250- 1600, so that you can use as fast a shutter speed as you can without losing detail-the longer the shutter speed, the more chances you have the camera will shake even slightly in the wind, resulting in an out of focus photograph. 5. Aperture priority of f/5.6 since you are not worried about capturing any details other then the moon. 6. Bracket your exposure, meaning over expose and underexpose the photograph from what the camera is telling you. Generally the camera will overexpose the moon, so you'll get nothing but a white blob in the sky. Use the exposure compensation button (the +/- button below the shutter release) and change the exposure to -0.5, then -1.0, then -1.5 and so on, until you start seeing detail in the moon. You may go as far as -5.0 exposure compensation to get what you need. 7. Take a fair amount of photos and keep refocusing as the night progresses. The photographs may look focused on the camera's display, but you won't really see if they're completely in focus until you upload them onto your computer screen. Proportion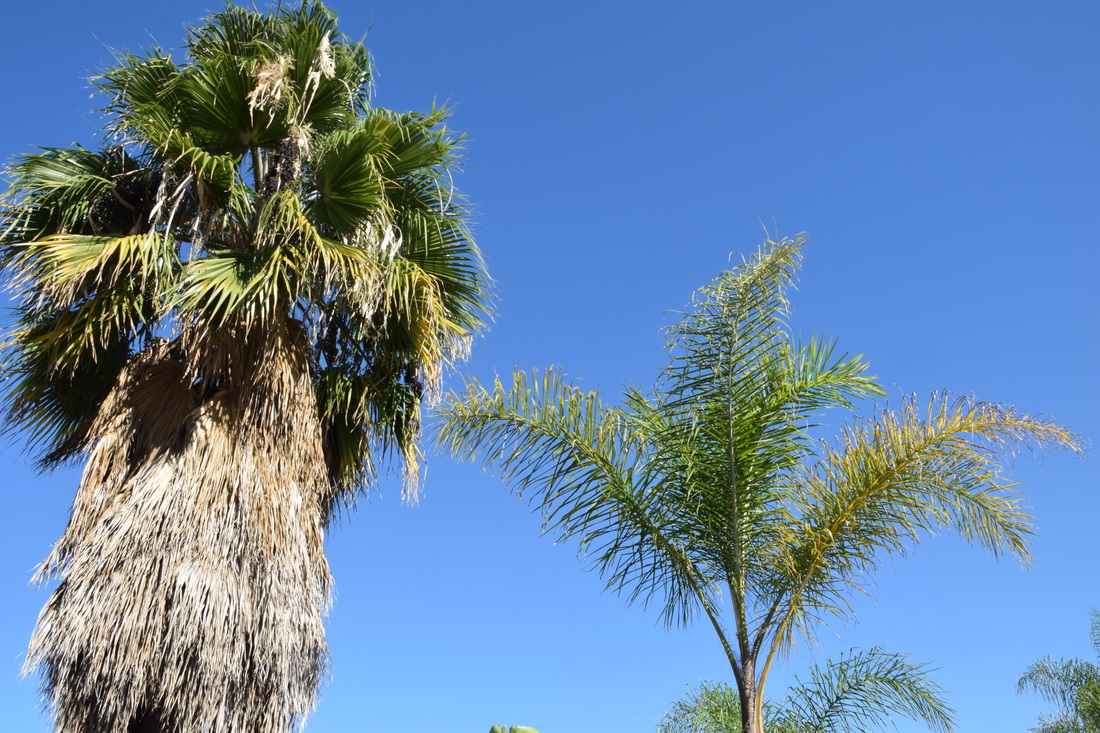 Rhythm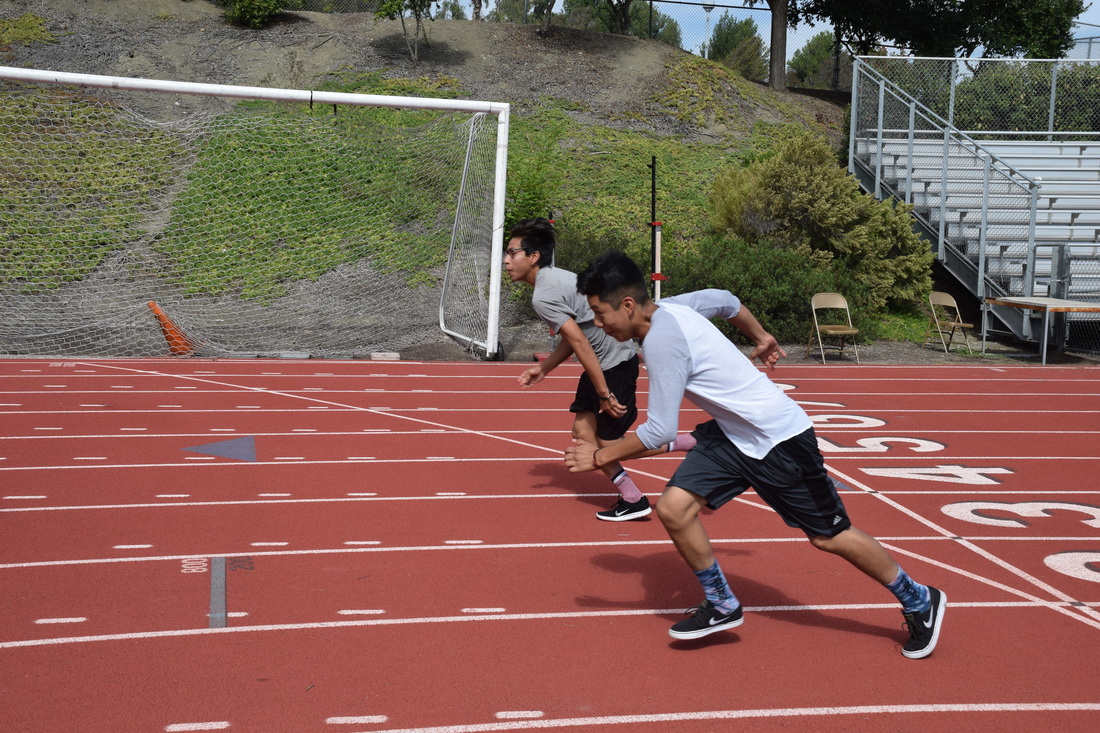 ISO 400, Aperture f/8, Shutter Speed 1/800 Harmony Variety ISO 400, Aperture f/8, Shutter Speed 1/800 Unity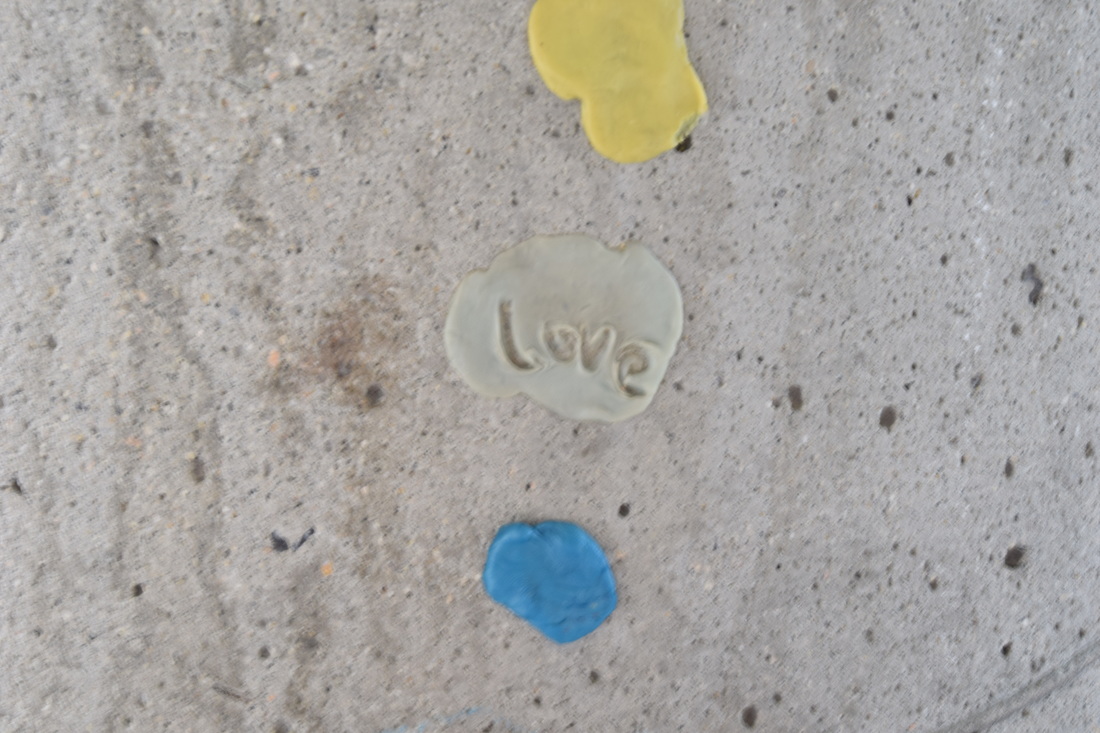  ISO 400, Aperture f/8, Shutter Speed 1/1600  ISO 400, Aperture f/8, Shutter Speed 1/1250  ISO 400, Aperture f/8, Shutter Speed 1/500 |
AuthorWelcome to my photography blog site. My name is Estrella Martinez and I love photography. Creating memories and being able to save them in a photo is so amazing! I can't wait to share my pictures. Archives
June 2017
Categories |
 RSS Feed
Photos used under Creative Commons from simpleinsomnia, Tekniska museet
